Tutorial
Decompile Older Minecraft Versions with RetroMCP and Eclipse
⚠️ Important: Before starting, make sure to visit the Documentation page. It explains how to set up RetroMCP, install JDK, and configure Eclipse, all of which are required for this tutorial.
This guide provides a step-by-step walkthrough for decompiling older Minecraft versions — including Preclassic, Alpha, and Beta — using RetroMCP-Java, and setting them up in Eclipse IDE for exploration and safe modification.
The tutorial focuses on:
Decompiling a Minecraft version using RetroMCP
Opening and exploring the decompiled project in Eclipse
Learning and safely editing the game’s code
⚠️ Tip: Eclipse is highly recommended for this workflow because it handles older Minecraft versions efficiently and organizes the project structure clearly.
Step 1: Run RetroMCP
Launch the RetroMCP-Java application by double-clicking the JAR file or running it from the command line.
If an error appears saying the application cannot run because JDK is missing, simply click OK. RetroMCP will still function properly.
Once the program opens, you’ll see the main interface where you can choose the Minecraft version you want to work with.
Tip: Keep RetroMCP in a dedicated folder to ensure all extracted files stay organized. You may want to create a parent folder like Minecraft_Decompiled before running the application.
Step 2: Select the Minecraft Version
In RetroMCP, select the Minecraft version you want to decompile. You can choose any version supported by RetroMCP — Preclassic, Alpha, Beta, and so on.
A setup window will appear to configure the decompilation environment. Click OK to continue. RetroMCP will automatically create the necessary folders and project structure for you.
Tip: Take note of the folder RetroMCP uses to save the project. This is important for importing the project into Eclipse later.
Step 3: Decompile the Version
Once setup is complete, click the Decompile button.
RetroMCP will process the selected Minecraft version, extracting the compiled JAR files and converting them into readable Java source code.
Wait until the decompilation finishes. The time will vary depending on the Minecraft version and your computer speed.
Tip: Do not move or rename any files while RetroMCP is decompiling, as this may cause errors or incomplete projects.
Step 4: Import the Project into Eclipse
Open Eclipse IDE.
Navigate to File → Import → Existing Projects into Workspace.
Browse to the folder where RetroMCP saved your decompiled project. Select it and click Finish.
Eclipse will load the project, displaying the src folder with all Java files and the libraries folder containing required dependencies.
Tip: If Eclipse does not recognize certain libraries, you may need to manually add them through Build Path → Configure Build Path.
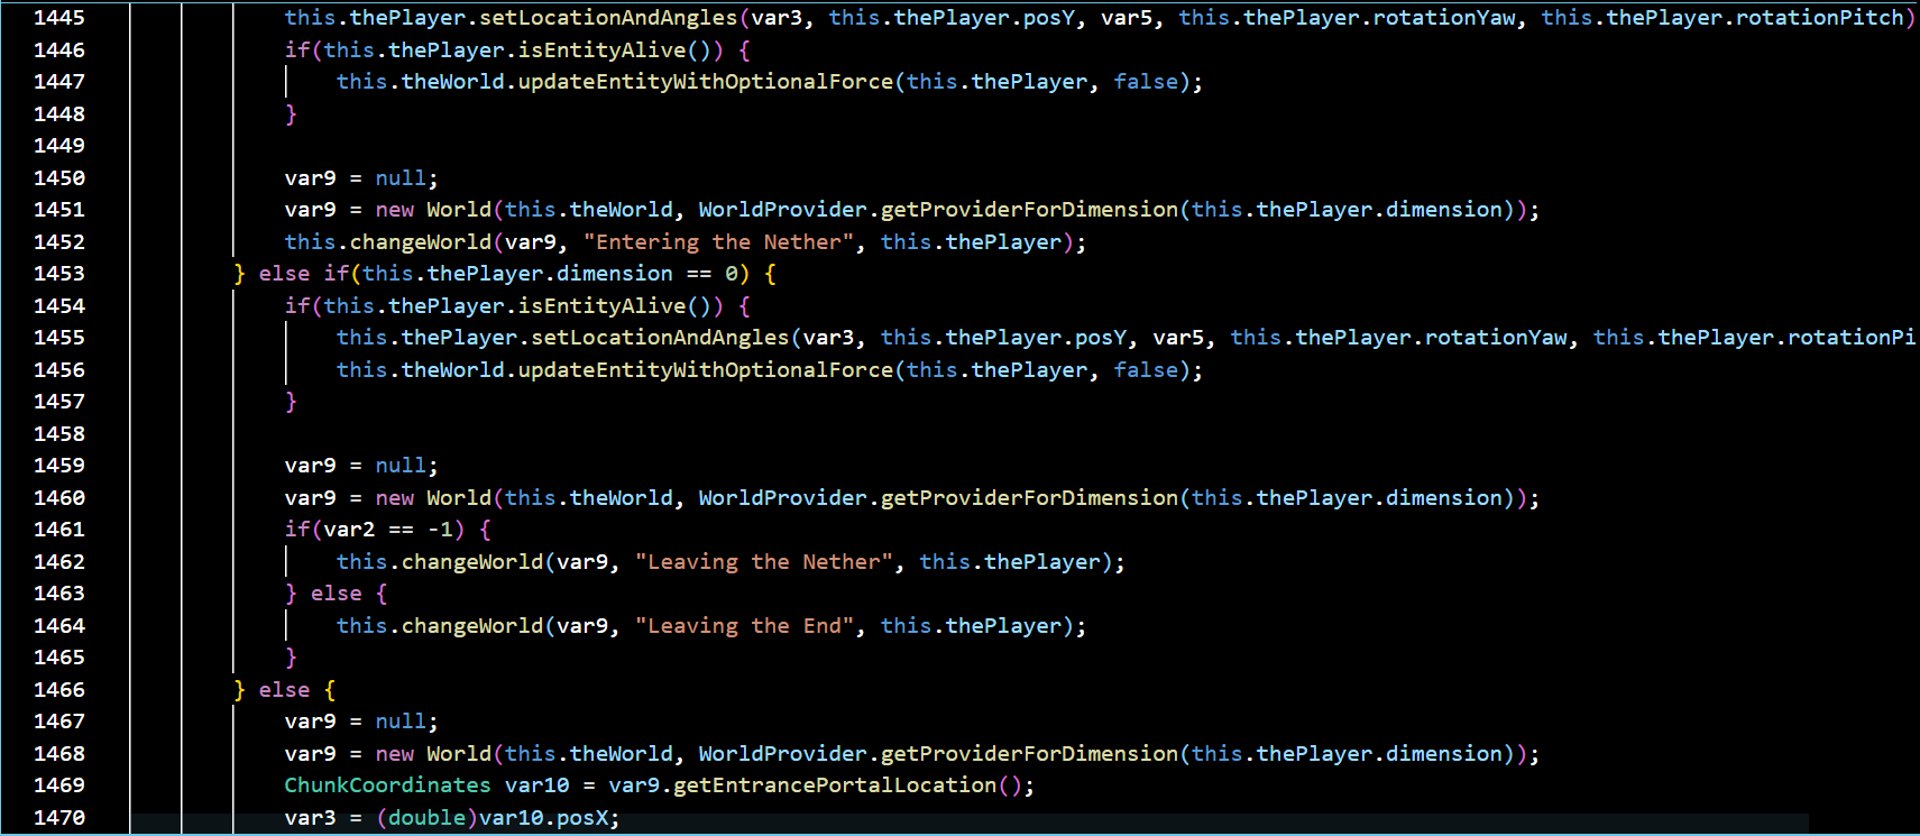
Step 5: Explore and Edit
Your project is now fully imported and ready to explore.
Use Eclipse’s navigation and search features to browse the code. You can study:
How blocks and items are defined
World generation mechanics
Game logic and older Minecraft features
Make edits safely. You can experiment with changes to the game’s mechanics, try new modifications, or simply analyze the code for educational purposes.
Tip: Consider working with one Minecraft version at a time in separate folders to avoid confusion. Back up your workspace regularly to prevent losing changes.
Step 6: Congratulations!
You now have full access to the decompiled Minecraft source code for the version you selected. This gives you a powerful environment to study the evolution of Minecraft, experiment with mods, or learn how the game is structured.
🎉 Now it’s yourcraft — the game is in your hands! Explore, modify, and learn safely.